
How To Setup Auth With Vercel Serverless and Supabase.
Auth at the Edge.

In a serverless environment, the window between the request and response cycle is short.
For example, on Vercel’s Hobby plan you get 10 seconds, Pro gives you up to 300 seconds, and Fluid goes up to 800 seconds.
If you’re using Auth as a Service, it needs to be fast. Your safest bet? Edge-optimized infrastructure.
That’s exactly what Supabase offers, Auth at the Edge, making it a perfect match for serverless setups.
In this post, we’ll set up email authentication with Supabase and Vercel.
If you’re new to Vercel or serverless, you might want to check out my other post for a quick primer: How To Build Full Stack App With Vercel, Express, and Supabase.
Setting Up
First, make sure you have a free Vercel account. You can sign up here.
Once you’re in, follow these steps:
Install the Vercel CLI
npm i -g vercel
Login
vercel login
New Project Folder
Create a fresh project:
npm init -y
npm i express @supabase/supabase-js
npm i -D @types/node @vercel/node
Inside your project root, create an api folder. Each file in this folder is treated as its own endpoint, index will serve as the default /.
api/index.ts
Stub out a basic Express app:
import { VercelRequest, VercelResponse } from "@vercel/node";
import express from "express";

const app = express();

app.get("/", (req: VercelRequest, res: VercelResponse) => {
  res.status(200).send("hello");
});

app.listen(3000, () => console.log("Server ready on port 3000."));

module.exports = app; // important for Vercel
Vercel Config
Create a vercel.json - it’s like package.json for Vercel, telling it how to run your project:
{
  "version": 2,
  "rewrites": [
    {
      "source": "/(.*)",
      "destination": "/api"
    }
  ]
}
Run the Dev Server
vercel dev
You’ll be prompted:
Set up and develop “~/Workspace/personal/JavaScript/backend/infra/serverless/vercel/autheg”? (Y/n)
Pick:
? Link to existing project? no
? What’s your project’s name? autheg
? In which directory is your code located? ./
You should see something like:
Linked to [your-username]-projects/autheg(created .vercel and added it to .gitignore)
Ready! Available at http://localhost:3000
And that’s it, you’ve got a fresh Vercel project running locally.
Supabase
Head over to your projects on Vercel, select the one you just created, find the Storage tab, and choose Supabase, connect and open the platform. Follow the prompts, it’s quick to set up.
Vercel will handle and maintain your environment variables for you. For local testing, pull them into your project:
vercel env pull .env.development.local
Auth
First, create your Supabase client:
import { createClient, EmailOtpType } from '@supabase/supabase-js'

const SUPABASE_URL = process.env.SUPABASE_URL;
const SUPABASE_ANON_KEY = process.env.SUPABASE_ANON_KEY;

const app = express();
app.use(express.urlencoded({ extended: true }));

if (!SUPABASE_URL) throw new Error('Missing env var SUPABASE_URL');
if (!SUPABASE_ANON_KEY) throw new Error('Missing env var SUPABASE_ANON_KEY');

const supabase = createClient(SUPABASE_URL, SUPABASE_ANON_KEY);
Entry Endpoints
// entry page
app.get('/', (req: VercelRequest, res: VercelResponse) => {
  res.status(200).send('<h1>Welcome</h1><p><a href="/signup">Sign Up</a> | <a href="/signin">Sign In</a></p>');
});
Sign Up form:
app.get('/signup', (req: VercelRequest, res: VercelResponse) => {
  const html = `
    <h1>Sign Up</h1>
    <form method="POST" action="/signup">
      <label>Email: <input type="email" name="email" required /></label><br />
      <label>Password: <input type="password" name="password" required /></label><br />
      <button type="submit">Create Account</button>
    </form>
    <p>Already have an account? <a href="/signin">Sign In</a></p>
  `;
  res.status(200).send(html);
});
When submitted, the form sends a POST request to /signup:
app.post('/signup', async (req: VercelRequest, res: VercelResponse) => {
  const { email, password } = req.body;

  const { data, error } = await supabase.auth.signUp({ email, password });

  if (error) {
    return res.status(401).send(`<p>Signup error: ${error.message} <a href="/signup">Try again</a></p>`);
  }

  res.status(201).send('<p>Account created! Check your email for confirmation. <a href="/signin">Sign In</a></p>');
});
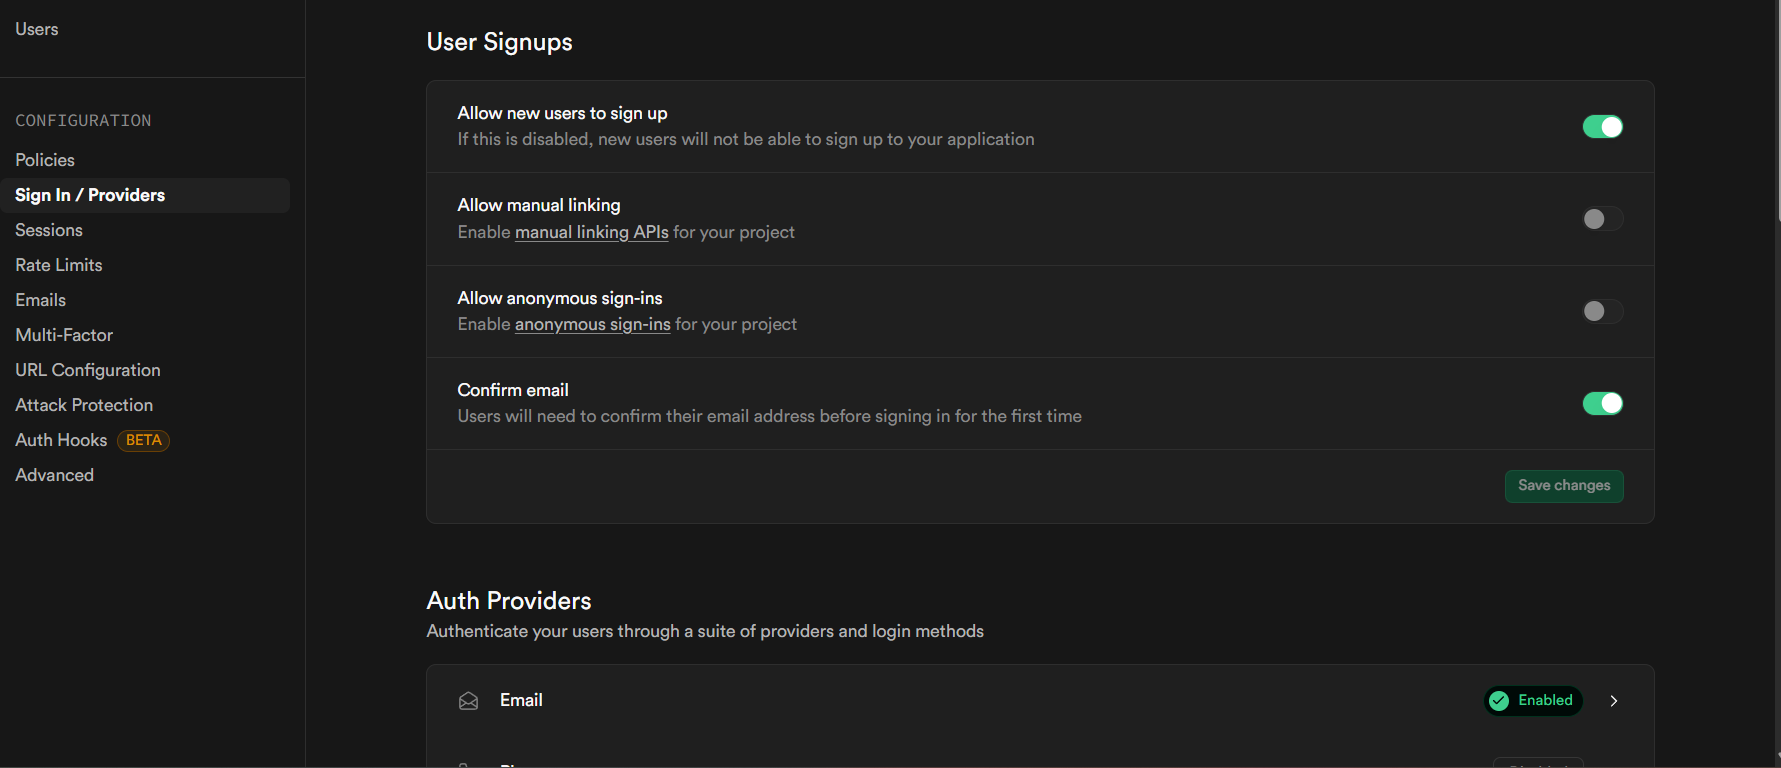
By default, Supabase sends a confirmation email after sign-up. You can tweak methods in the Auth tab in Supabase.
Redirect and Email Template
When the user clicks the link in the confirmation email, Supabase redirects them to your app with verification tokens.
1. Redirect URL – set it in your Supabase Auth settings.
2. Email Template – here’s an example:
<h2>Confirm your signup</h2>
<p>Follow this link to confirm signing up:</p>
<p>
  <a href="{{ .SiteURL }}authenticate?token_hash={{ .TokenHash }}&type=invite&redirect_to={{ .RedirectTo }}">
    Accept the invite
  </a>
</p>
You’ll find everything in the supabase editor authentication tab:
In the URL Configuration tab you’ll set the site url for testing point it to your local host, later replace it with a live vercel url.
The important part in the email template is the token_hash, you’ll use it to verify the user in your /authenticate endpoint.
Authenticate Endpoint
app.get("/authenticate", async (req: VercelRequest, res: VercelResponse) => {
  const { token_hash, type } = req.query;

  if (!token_hash || !type) {
    return res.status(400).send("<p>Missing token or type. <a href='/'>Go home</a></p>");
  }

  const { data: { session }, error } = await supabase.auth.verifyOtp({
    token_hash: token_hash as string,
    type: type as EmailOtpType
  });

  if (error) {
    return res.status(401).send(`<p>Authentication failed: ${error.message}. <a href="/signin">Try again</a></p>`);
  }

  // Session is ready — you can set cookies here if you want
  console.log(session?.access_token, session?.refresh_token);

  res.status(200).send(`<h1>Welcome, ${session?.user.email}!</h1><p>Logged in via magic link. <a href="/">Home</a></p>`);
});
Verification looks like this:
await supabase.auth.verifyOtp({ token_hash: token_hash as string, type: type as EmailOtpType });
If it succeeds, the user is registered and logged in. Supabase manages sessions for you, so you just store the refresh and access tokens in cookies if needed.
Sign In Flow
app.get('/signin', (req: VercelRequest, res: VercelResponse) => {
  const html = `
    <h1>Sign In</h1>
    <form method="POST" action="/signin">
      <label>Email: <input type="email" name="email" required /></label><br />
      <label>Password: <input type="password" name="password" required /></label><br />
      <button type="submit">Sign In</button>
    </form>
    <p>New here? <a href="/signup">Sign Up</a></p>
  `;
  res.status(200).send(html);
});

app.post('/signin', async (req: VercelRequest, res: VercelResponse) => {
  const { email, password } = req.body;

  const { data, error } = await supabase.auth.signInWithPassword({ email, password });

  if (error) {
    return res.status(401).send(`<p>SignIn Error: ${error.message}. <a href="/signin">Try again</a></p>`);
  }

  res.status(200).send(`<h1>Welcome back, ${data.user.email}!</h1><p><a href="/">Home</a></p>`);
});
And that’s your full Supabase + Vercel auth loop, sign-up, verification, and sign-in all wrapped up.